Rain Gardens for Beauty, Stormwater Management & Water Conservation
|
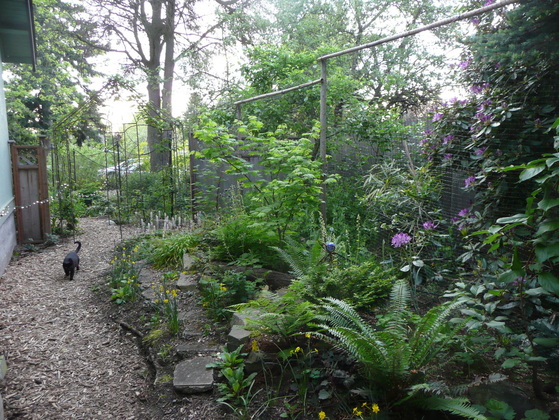
A path of chipped, recycled pallets is an ecological and economic choice.
|
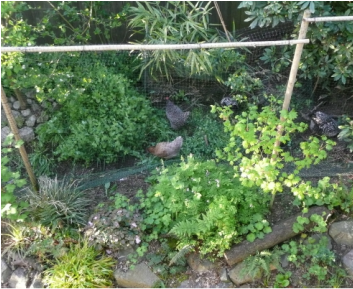
The three year old rain garden shown here functions beautifully to infiltrate roof runoff and prevent flooding in the nearby basement. Plants and healthy soils work together to filter excess nutrients deposited by foraging chickens.
|
By
shaping the land to slow, spread & sink rain water, building soil health and choosing appropriate plants we can create lush, diverse landscapes that
are thriving, resilient and functional ecosystems.
|
RAIN GARDEN PRESENTATION
Rain garden talks, classes and workshops ( 1 hr or day) are available. Please contact Janaki at (360) 920-1082 or email janaki(at)wonder-flora.com
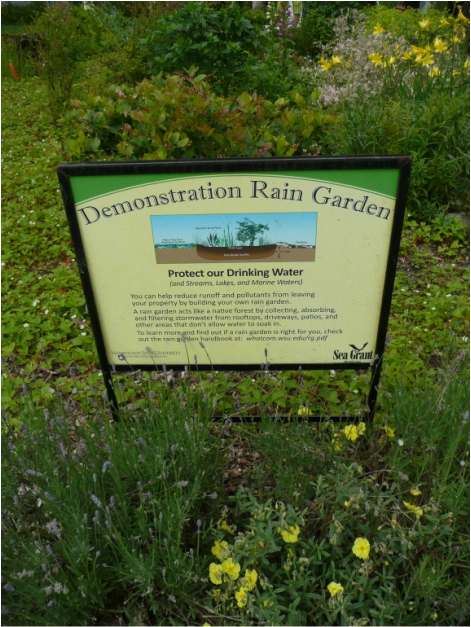
Bellingham demonstration rain garden near Lake Whatcom. City funding may be available for some sites.
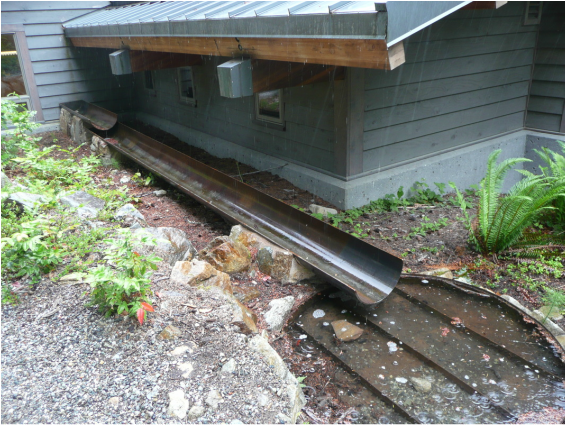
Function and beauty integrated in a stormwater conveyance design at North Cascades Institute.
|
RAIN GARDEN DESIGN & CONSTRUCTION
Why Rain Gardens? In the forest, rainfall drips slowly through the treetops, down into the organic matter in the forest soil, and then gradually enters the groundwater. A small portion flows into creeks and rivers. In developed areas, storm water flows quickly off impervious surfaces such as roofs and roadways. This concentrates and channels contaminants such as bird waste and oil products directly into waterways. Rain gardens simulate forest effects by slowing, sinking and filtering rainwater through the soil. Plants then absorb the water before it moves into curbside drains and creeks. This helps the plants, the watershed and the health of Puget Sound. Rain Garden Design The style of the rain garden may be formal (symmetrical) or naturalistic (irregularly shaped). In either style, there are three distinct zones: · Zone 1: a central, level area, planted with wetland species—this will saturate during the rainy season. · Zone 2: the sloping sides around this center, which will be alternately wet and dry—many native plants tolerate these conditions. · Zone 3: The outside edge of the rain garden—typically a berm—where drought tolerant plants will grow. Planning Your Rain Garden: · Identify downspouts and paved or graveled areas where storm water flows. · Estimate the size of your rain garden based on the volume of water flow. The area of zone 1 should be at least 10% of the area of the roof or other impervious surface contributing stormwater. For example, a garden with a 100 sq. ft. zone 1 can handle runoff from 1000 sq. ft. of rooftop · Choose a site that is at least 10 feet from structures. · Avoid low-lying, poorly drained areas that are more suitable for bog gardens. Perform a percolation test- see the Rain Garden Handbook for Western Washington. Building the Rain Garden: · Locate underground utilities (call 811 for this information) · Excavate the existing soil to create the capacity to hold the volume of water expected. Use the excavated soil to create a berm around the catchment area. · Remove and destroy pernicious perennial weeds such as blackberry, morning glory, quackgrass and Japanese knotweed. · Except for small gardens, it’s best to hire a professional with machinery to do earth moving. It is critically important to not compact the soil. Do not drive machinery on the final grade. Only excavate when the soil is dry. · Mix in purchased rain garden soil, or add sand and wood-based compost (not manure) to native soils to create a free-draining, organic, sandy loam. Be sure the rain garden soil is properly amended to allow rainwater to infiltrate. Consult the Rain Garden Handbook for Western Washington for details. · Mulch with wood chips to a depth of 2 to 4 inches to control weeds, protect the soil from compaction and eventually compost into humus. Aged arborist’s chips (shredded wood and leaves) are ideal. · Choose plants to thrive in moisture zones 1, 2 and 3. Consider whether the site is sunny or shady and whether the plants will outgrow the space. · Direct the flow of storm water through a swale (open ditch) or enclosed smooth pipe into the rain garden. Place rocks to lessen the force of the incoming water. Rocks also stabilize the outflow point. Direct the overflow into another garden, lawn and eventually the curbside storm drain. Maintaining the Rain Garden: · Plan to water plants for the first year or two during the dry season. Once established, these low-maintenance gardens will not need watering. Weed as needed. Thin or remove plants that are crowded. Allow leaves to fall and compost in place. Renew mulch after leaf fall for a more formal, tidy garden style. · Keep the inflow (including gutters and downspouts) and outflow clear of debris, especially before and after storm events. |


